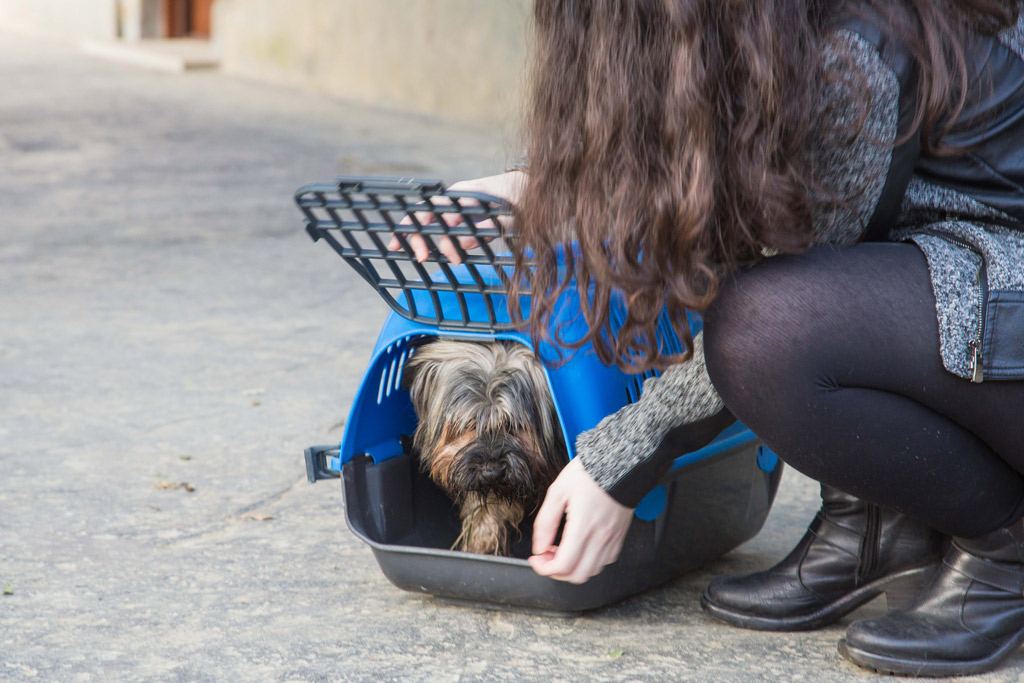
For small dogs and puppies, a travel carrier is one of the safest ways to travel with them. However, what do you do when your dog is scared of the carrier or simply doesn’t like it?
“Pet carriers are necessary, but they shouldn’t be a necessary evil.”
Dr Jane Brunt.
The more familiar and comfortable your furry friend is with his carrier, and the safer he feels in it, the less stressful it will be for him when you need to move him in it.
Travel Carrier Training
The goal is to gradually introduce the carrier to your dog because if he is suddenly placed in it, he might feel like he’s being punished.
So, how do I get my dog into a carrier?
Follow these steps for travel carrier training:
#1 – Get a Carrier According to Your Dog’s Size
Purchase the carrier before you bring your dog home for the first time or make sure you have it well in advance of any planned outings.
Carrier specs and features to look for in dog travel carriers:
- Carrier size: The size should be large enough for him to stand up and turn around in*.
- Material: Hard plastic carriers are safe for car travel. For soft-sided carriers, you want to make sure that they are sturdy enough to not collapse under the weight of the seatbelt, especially applies for carriers to use in car travel.
- Water-proof: Look for a waterproof bottom to avoid possible accidents.
- Ventilation: At least 2 sides of the carrier should have mesh ventilation.
*To measure your dog, use a measuring tape and take the following measurements:
- From the tip of the nose to base of the tail, to calculate the length of the carrier.
- From the top of the head or erect ears to the ground when your dog is standing erect, to calculate the height of the carrier.
Then, you can compare these measurements to the interior measurements of the carrier you want to get. Your dog’s measurements should be slightly smaller than the carrier measurements.
#2 – Place the Carrier in His Environment
Once you buy a carrier, make it part of your dog’s environment (his safe zone).
Keep the door open for now. You can tie the door open so he can’t accidentally close it.
Place comfy bedding in the carrier, either something your dog has been using so it smells familiar or something with your scent on it.
#3 – Reward His Acclimation
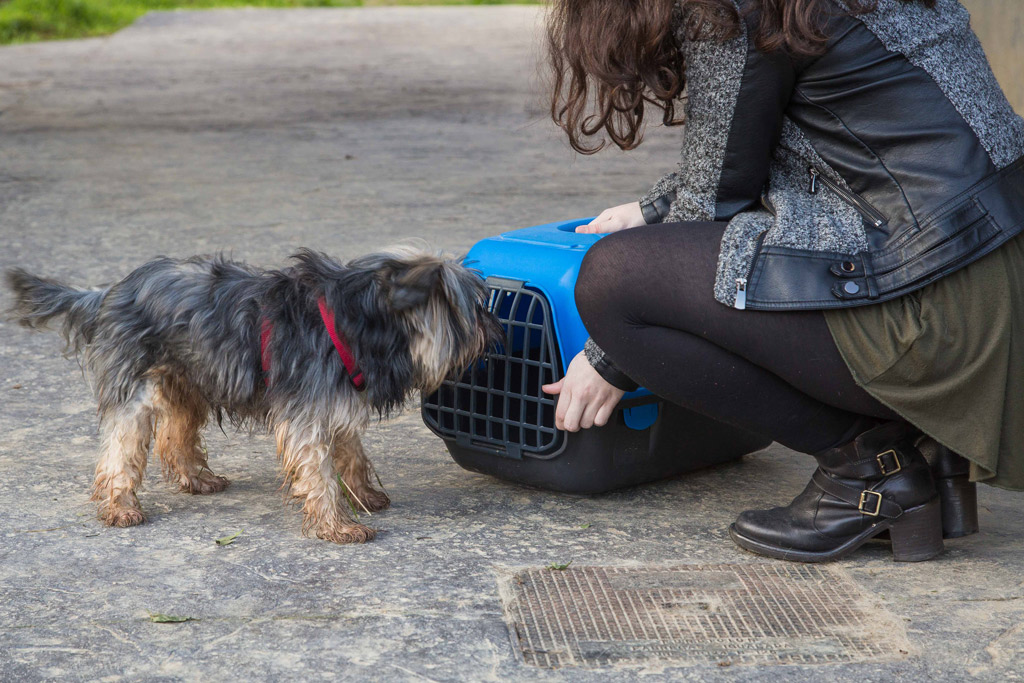
Reward your dog with praise, petting, or a high-value treat when he investigates the carrier, and especially if he goes inside.
Remember, the goal is to gradually acclimate him to the carrier, and make it a place he likes to visit.
#4 – Attract Him to the Carrier with Food
You can attract your pooch with food by placing his food bowl closer to the carrier. If he’s still suspicious and won’t go to his bowl, move it just far enough so that he’ll eat.
Also, you can add a small amount of a special treat he loves on top of his meal to further tempt him. Once he’s eating from the bowl without hesitation, start moving it closer with each meal until he’s eating comfortably very close to the carrier.
Next, place the food bowl inside the carrier, right at the entrance, so your dog can reach bites of food without having to actually step inside.
After several days of eating from his bowl, which is placed just inside the carrier entrance, move it a few inches toward the back of the carrier each day until he’s standing completely inside as he eats.
#5 – Place Toys and Treats in the Carrier
You can also attract him to enter with toys and treats.
Put a few of your dog’s favourite toys and treats into the carrier at random times. The idea is to associate only pleasant, fun, yummy things with the carrier each time your dog explores it.
Every time you see him enter the carrier, reward his good behaviour. Dogs repeat what feels good to do; finding treats and then getting petted by you feels wonderful to them.
However, your puppy at home may imprint on you when he’s between 3 and 12 weeks of age. As a result, he will view you as his mother or a person he can trust.

#6 – Soothe His Anxiety with Smells
Do not force your dog into the carrier, this will only increase their fear. If you feel like he’s still anxious about it, consider placing some stress-reducing oils for anxiety or fear like Lavender essential oil.
If your dog is prone to anxiety, check our post about how to calm your dog’s fears and anxiety for further tips.
#7 – Take a Nap in the Carrier
Wait patiently for your dog to hang in and out of his carrier, and hopefully napping there.
This process could take several days, weeks or even several months depending on your dog and how you train him. Which is why you must be patient while continuing to praise, put meals, treats, toys, and other fun stuff in the carrier.
#8 – Close the Door of the Carrier
Once your dog is feeling at home in his carrier, try closing the door for a very short time with his inside. Make sure to let him out before he becomes anxious or panics.
If your dog comes out, ignore this behaviour and try to close the door in next time you are training him.
Slowly extend the time in the crate by 30 seconds to a minute during each practice session. Later you can increase the time easily because your dog will feel comfortable there.
Remember that the carrier is not a place to lock up a dog.
#9 – Take a Test Trip with Your Dog
When you can close the door for significant periods of time without upsetting your pooch, you can start bringing him along on short car rides to get him accustomed to being in the carrier in a moving car that doesn’t stop at the veterinary clinic.
Each time you return home with your dog, go right back to providing meals, toys, and treats in the crate so he continues to associate his carrier with goodness.
For further training tips, visit our dog training post.
Types of Travel Carriers
There are different types of carriers depending on your needs.
Traditional Carrier
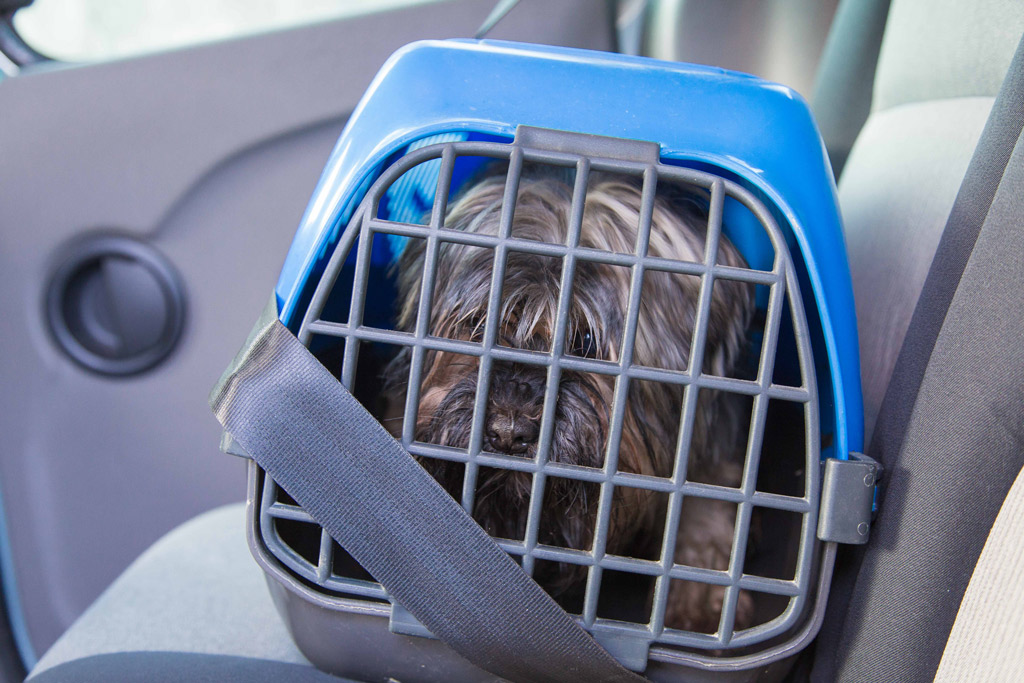
If travelling by car, this is the safest type of carrier. Just make sure that your carrier is sturdy enough to not collapse under the weight of the seatbelt. For this occasion, you might want to go for a hard plastic crate or a soft-sided but sturdy enough carrier.
Have a look at the range of hard-sided dog travel carriers on Amazon.
Soft Bags
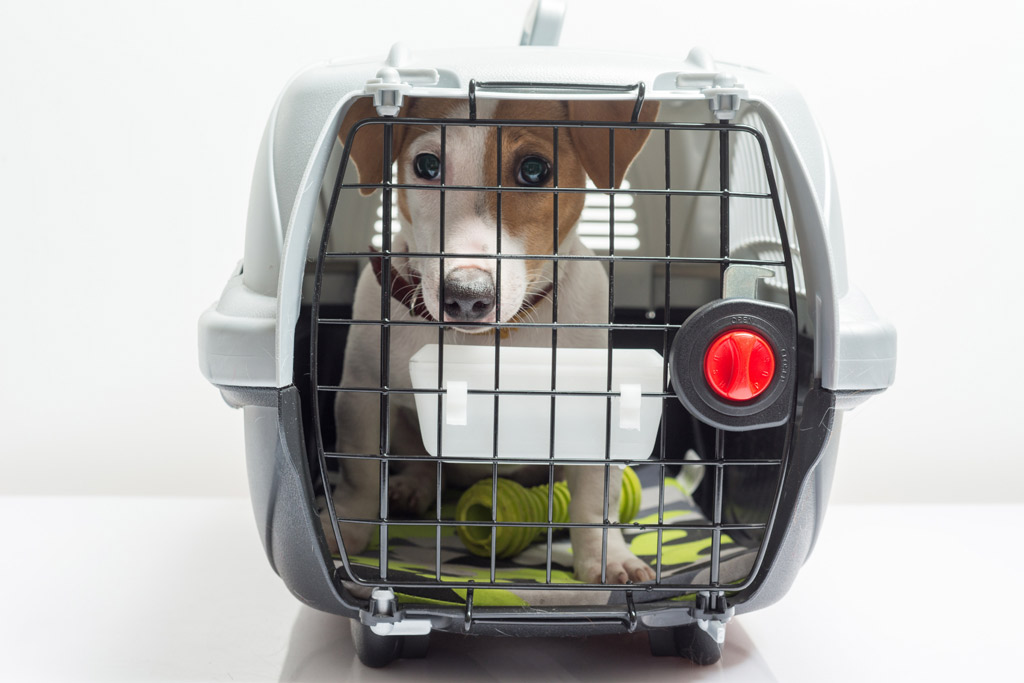
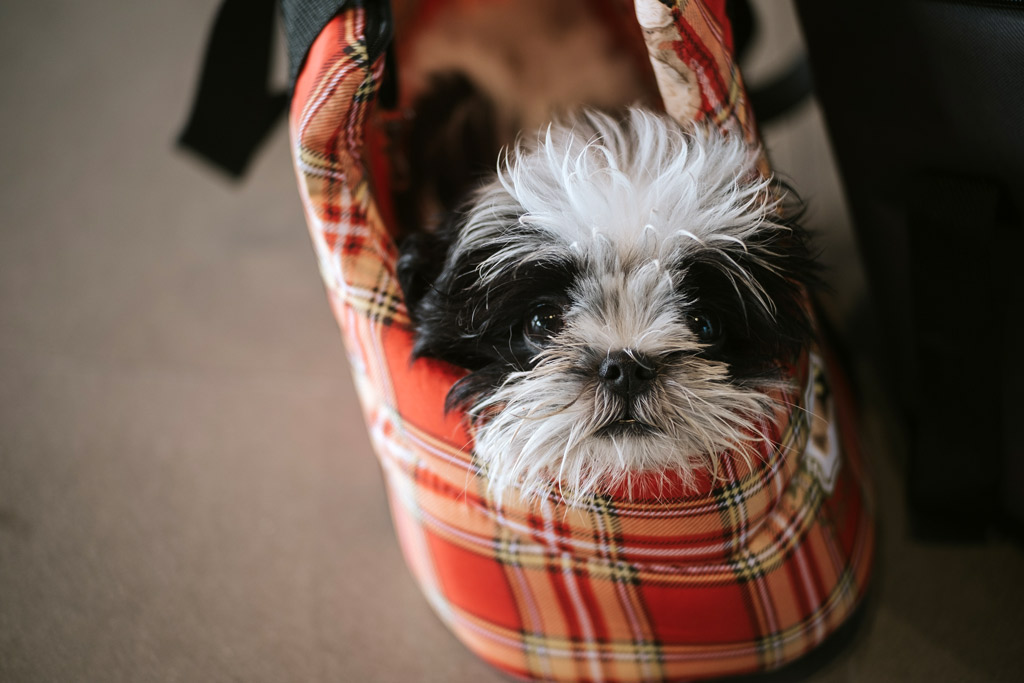
You often see pet owners carrying their furry friends in soft bags like the one in the photo.
Here’s a range of soft-sided dog travel carriers on Amazon.
Dog Buggies
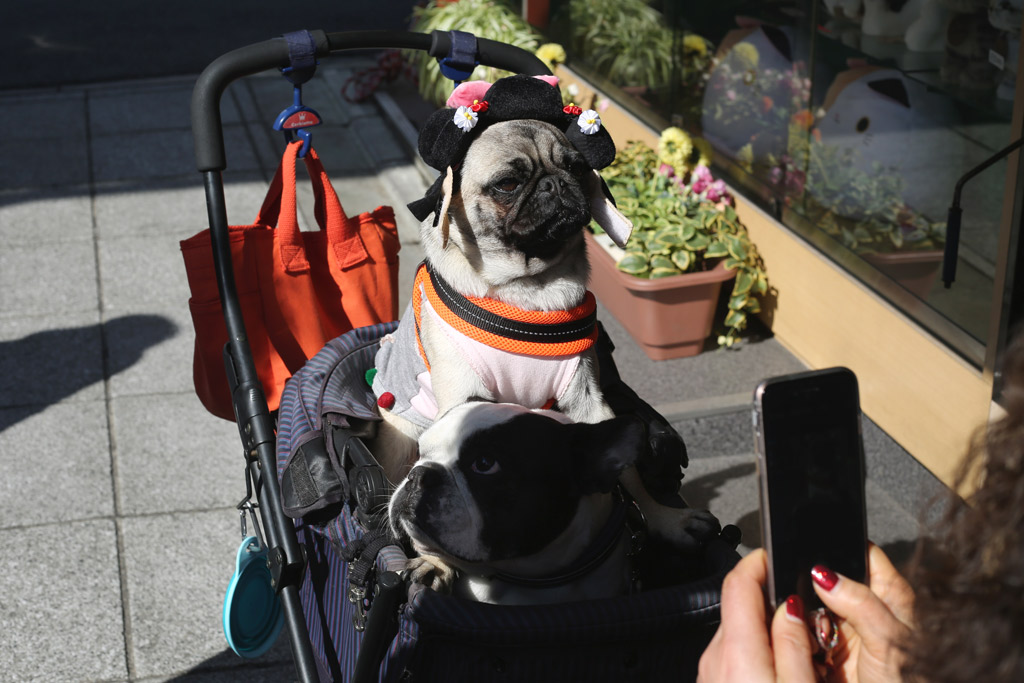
Pet buggies, also called dog strollers (Amazon link), are the latest trend. They are a great alternative for elderly people since it’s easier to push than carry a heavy crate, especially if you are using public transport.
In addition, it’s also a great way to carry more than one dog.
Dog Bike Basket
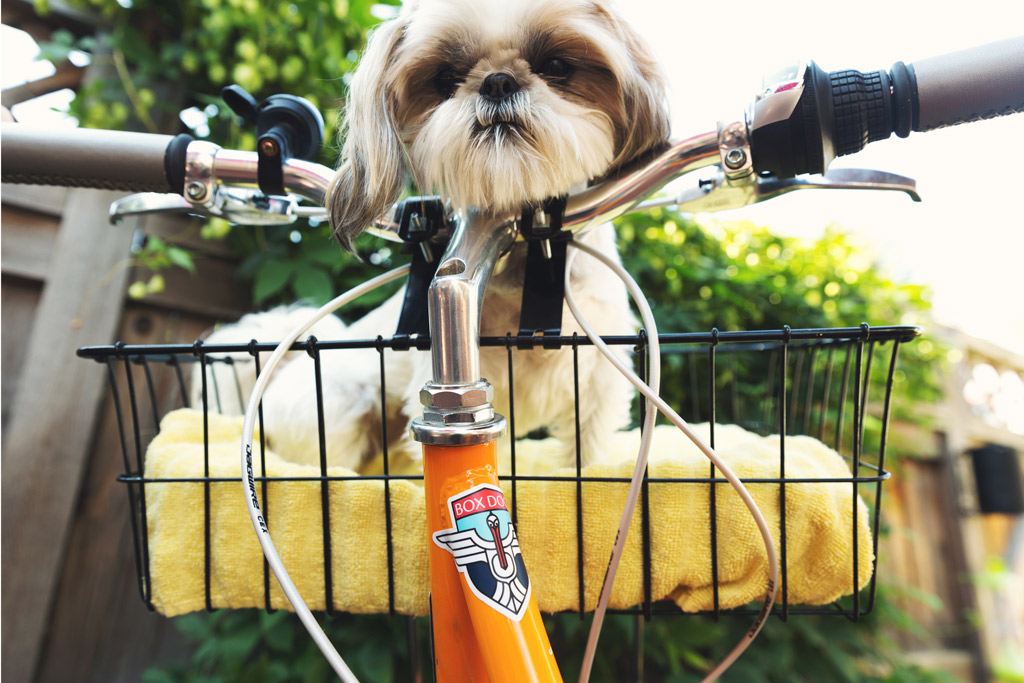
If you are a bike lover, you might want to consider letting your pet join in on the ride with you! Only if you make the necessary safety arrangements, of course. Search for: dog bicycle carriers (Amazon link).
Finally, if you want to know more about dog care, check out our The 5 pillars to a happy and healthy dog blog post.
Related Questions
The maximum time that a dog should stay in his travel carrier is five hours, which will be rarely. However, when your dog travels on a plane, it could be longer. But that is a particular case.
The maximum time that a dog can be caged for:
– Puppies from nine or ten weeks: 30 to 40 minutes.
– Puppies between 11 and 15 weeks: 1 to 2.5 hours.
– Puppies between 16 and 17 weeks: 3.5 hours.
– Puppies and dogs of 18 weeks or over: 3.5 to 4 hours.
Training your small dog or puppy to get into his travel carrier is very useful for many reasons:
– Visits to the vet.
– Travelling by car.
– Travelling by plane.
– When there’s an emergency (i.e. you need to evacuate your home).
Yes. First of all, dogs have to travel restrained by law in a lot of places. Moreover, this will add extra safety for your dog, and the carrier won’t move in the car.
