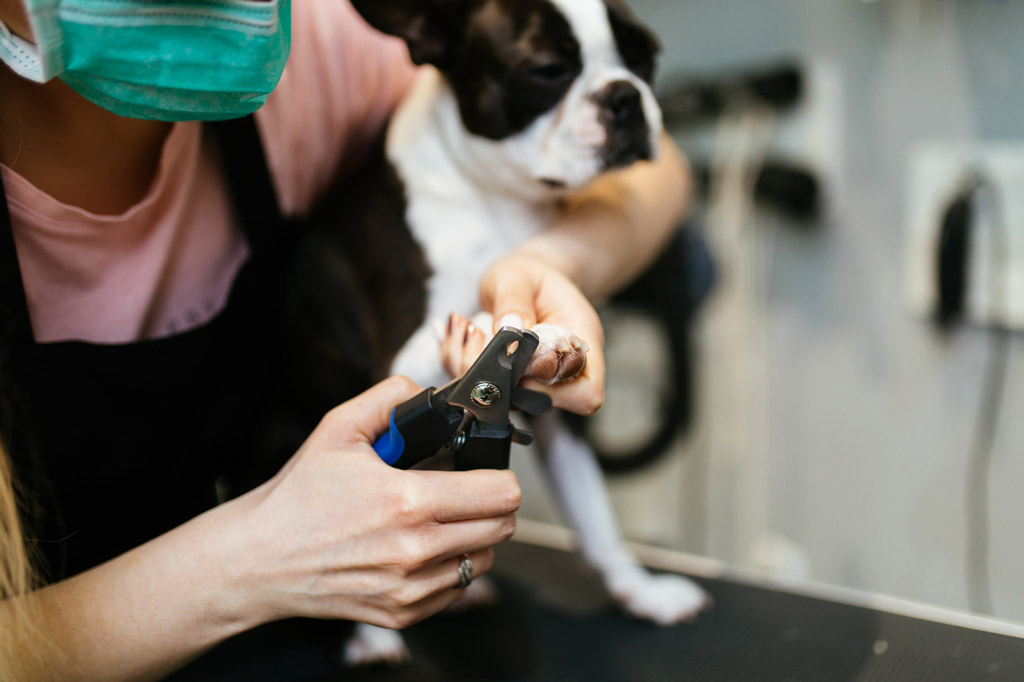
If you don’t want to take your Boston Terrier to the groomers every time you need to cut your dog’s nails… but you are still apprehensive of doing it yourself, then you’re in the right place.
In this blog post, I share some tips to get your Boston Terrier less scared and used to getting his nails clipped. Also, I go through, step-by-step, how you can trim your Boston Terrier’s nails.
How to Cut Boston Terrier Nails
Nail clipping or trimming is an essential part of grooming your Boston Terrier. However, this can be scary and stressful for your pooch. 🙁
So, the first thing you should do is get your dog used to have his paws touched and handled – this should happen long before you try to trim his nails.
How to Get Your Boston Terrier Used To Nail Clipping
Here are 3 stages you can follow to get your Boston Terrier puppy or adult less scared of, and eventually used to, nail clipping:
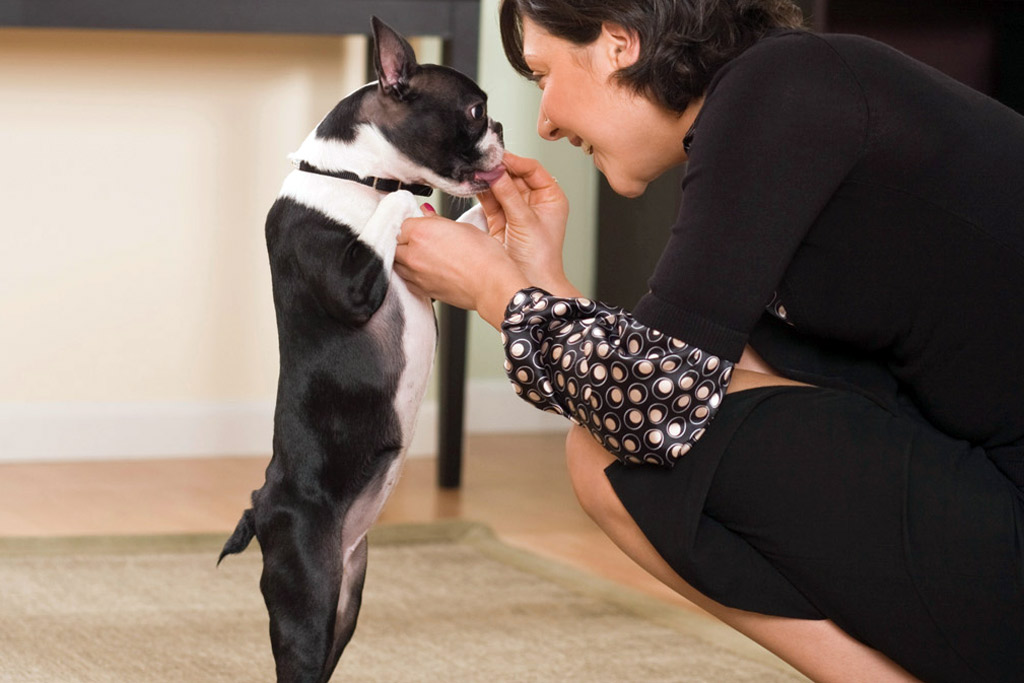
#1 – Condition Your Dog to Having His Paws Touched
It’s as simple as frequently touching and holding your puppy’s paws right from the first day!
Getting your pooch accustomed to being touched gently from the start makes him associate the contact with a positive and comfortable feeling.
This is also helpful for cleaning your dog’s teeth and ears; it’s easier to clean your dog’s teeth if he’s okay with your finger & hands being around or in his mouth.
Reward and treat your pup when doing this, especially if he’s reluctant to your touch. All dogs are different, so getting yours to become comfortable with this could take some time. The real key is patience and gentle persistence.
Once your puppy is happy with you touching his four paws, and you’re confident this is no problem, then you are both ready for the next step!
#2 – Accustom Your Dog to Nail Clippers
You can follow these steps once a day or a couple per day, depending on your Boston Terrier’s response and behaviour:
- Let your puppy sniff the nail clipper or grinder. Then give him a treat with a praising, happy tone when he does this (double reinforcement).
- Next, touch the nail clipper or grinder lightly to each paw. Give him a treat and praise each time.
- When he’s OK with you touching the nail clipper to each paw, squeeze the clipper so your pooch hears the sound. If you are using a grinder, turn it on and let your puppy feel the vibration. Continue to reward your doggie for his progression.
Feel free to repeat each step more than once. Whatever works best for your pooch!
#3 – Trim One Nail
Starting from the front paws, you want to first attempt trimming off just one nail – nothing more. But before this, repeat step #2 (and the 3 points in there), almost like a ritual you do every time – at least to start off.
Then reward your pooch! It’s okay if he only lets you do one for now. 🙂
The next day, aim to get another two nails trimmed. Keep working your way up, trimming additional nails each day.
Insider Tip: Pretending you are clipping and going through the motions helps your Boston Terrier get used to the whole process.
Repeat this process every day until he lets you do all his nails (not all in one day yet!) and he doesn’t seem to mind. So practice even when you don’t need to clip a nail!
“If you’ve never clipped a dog’s nails before, you may want to have your veterinarian or vet tech give you a lesson on how to do it.”
Dr Jerry Klein, AKC’s chief veterinary officer.
It can take your pup a little while to get used to this, so don’t despair! Be patient, keep a gentle and positive attitude, and continue to praise and reward your pooch with treats.
How to Clip Your Boston Terrier’s Nails
Here are 7 steps you can follow to trim your Boston Terrier’s nails:
#1 – Find a Comfortable Position
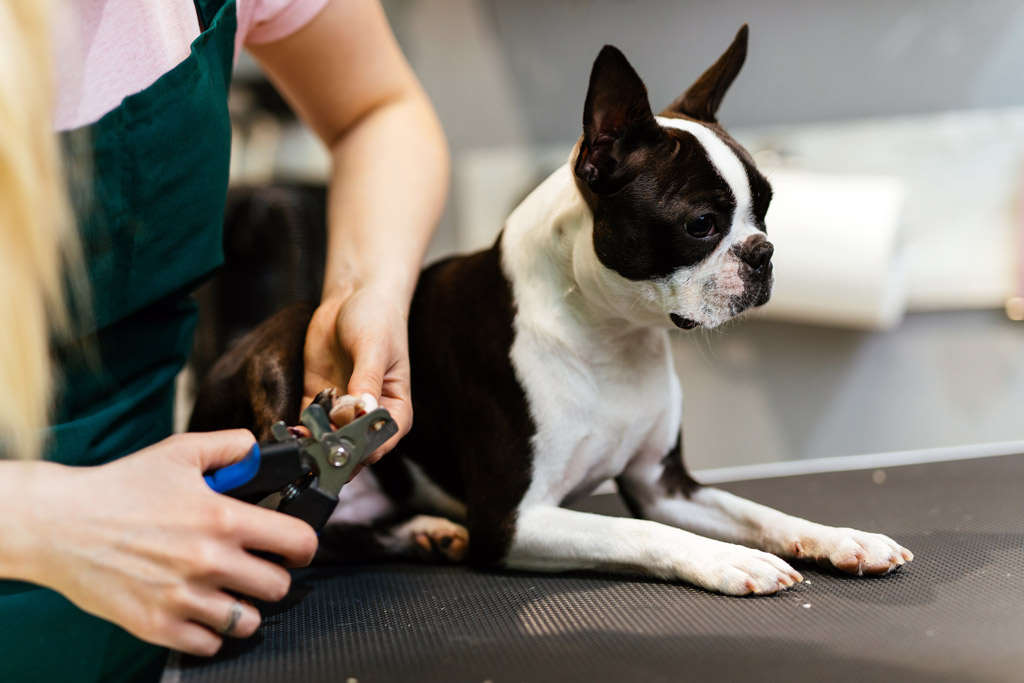
Start by holding your dog comfortably. Some Bostons will sit on your lap or lay on a table while you clip their nails while others may need some form of restraint (another person holding him).
Then, hold the clipper using your dominant hand while you hold your Boston Terrier’s paw firmly in your free hand.
#2 – Determine How Much To Cut
Your dog’s nails must be trimmed very carefully to avoid cutting into the pinkish quick (the area of the nail that contains the blood vessels). A nip there is painful and your dog will bleed.
If the nails come in contact with the ground, they need to be trimmed.
But, how can you determine how much to cut?
Boston Terriers with White Nails
If your dog’s nails are white, you will be able to distinguish between the pinkish quick and the overgrown white nail. Avoid clipping past the curve of the nail and leave some space before the quick when trimming.
Boston Terriers with Black Nails
If your pooch has black nails, it’s a bit more difficult to judge where the quick finishes. Some say to cut until you see white inside the nail on black nails (a chalky white ring). But, I would check with a veterinarian for personalized guidance.
#3 – Cut The Nails With a Clear View
Pick up your dog’s paw so that you can see his pads. Imagine you are giving your dog a high-five; that’s the position you want to have when you have his paws held. This is because the nails should be cut from underneath, not from the top downward.
Select the nail that is getting trimmed, then firmly, but gently, with the hand that’s holding your dog’s paw, place your thumb on the pad of the nail that you’re clipping, and your forefinger on the skin above the nail and raise it up. This motion extends your dog’s nail, giving you a clear view of the nail that you are going to clip.
Now hold the clipper at a 45º angle with your dominant hand and clip only the tip of the nail, straight across. Go for a decisive, quick squeeze and move to the next nail. Don’t worry about popping the end off at this point, it should fall away on its own.
Don’t forget about cutting the dew claws, which are located on the inner side of the paw.
Alternatively, file down your Boston Terrier’s nails with a rotary-type sander (a nail grinder) on a slow speed, tapping gently at the tips to remove very small sections at a time.
#4 – Keep Your Pooch Entertained
If you are struggling to keep your pooch still or relaxed, (or both!), here’s what you can do:
Put some peanut butter (the same you use to stuff a Kong) on a plate or lickimat and place it in front of your Boston Terrier. This is a great trick to get your pooch entertained and focused on one spot, without moving much (licking is more effective than chewing).
Then continue trimming while he’s licking the plate clean!
Note: Be sure use peanut butter for dogs, which is free off xylitol (an ingredient that is toxic for dogs).
#5 – Take a Break
If your dog ever gets too anxious and resists the procedure, even after trying the peanut trick… take a break!
Calm your Boston Terrier with lots of cuddles, sweet talk and, of course, some playtime. 😉 This should take the edge off.
Then, decide if you want to try again or continue tomorrow.
You don’t have to get all the nails trimmed in one go. Trimming one nail a day is fine. You should do only as much as your dog is comfortable with.
#6 – Be Prepared in Case of Bleeding
Your pooch will bleed if you cut the quick (a tiny blood vessel). Not only is this painful for your dog, but it can lead to infection if not properly treated.
So, have some styptic powder at your disposal to stop bleeding.
Styptic powder is a must-have and should be at your fingertips before you start the nail trim, especially if this is your first time clipping them.
Refer to the Dog Nails Trimming Essentials section below for more information.
Note: I wouldn’t trim my dog’s nails if I don’t have styptic powder. I don’t want to panic if I accidentally cut into the quick of my pooch. The thing is… if you cannot stop the bleeding after 5 minutes (a toenail will bleed for about 5 minutes if left unattended), you have to take your dog to your vet right away.
#7 – File The Nails To Reduce Sharp Edges
To reduce the sharp edges, you can file the nails from the topside of the nail down and around to the end of the nail tip.
Why should you file them?
- It helps to avoid splitting, which freshly trimmed nails are prone to.
- It keeps your furniture and floors safe.
However, if your Boston is having a bad time so far, you can avoid it or leave it for another day. It’s better to end on a positive note!
Watch our short nail trimming tutorial here:
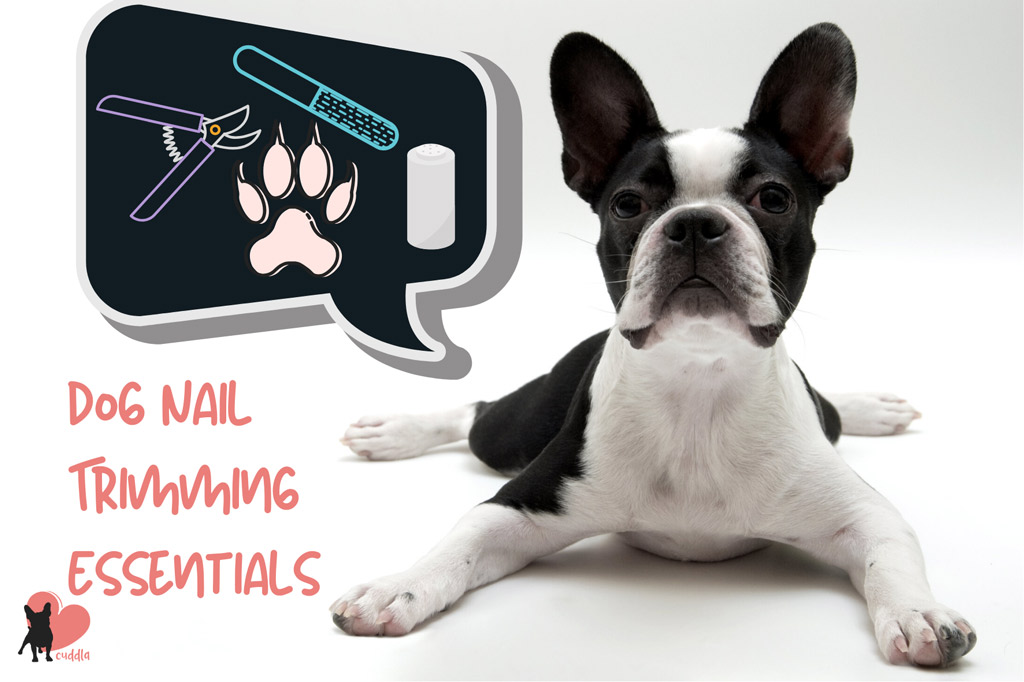
Dog Nails Trimming Essentials
Here’s what you are going to need to trim your Boston Terrier’s nails:
- Styptic powder.
- A nail clipper or nail grinder, depending on what your dog can tolerate and your own preference.
Styptic Powder
Because accidents are bound to happen… It’s very useful to have styptic powder (available in Amazon) by your side when cutting your Boston’s nails.
Styptic powder stops any blood in its tracks and also works as an antiseptic, avoiding infection.
This and cornstarch are the only agent that I know of to stop the bleeding. So, I wouldn’t attempt any nail clipping without having this powder with me.
Remember that if you are not able to stop the bleeding with these or by making pressure with a gauze or clean cloth on the nail, you need to take your dog to the vet immediately!
Nail Clipper
The nail clipper or trimmer is a manual tool. Clippers are easy to use. Simply stick the end of your dog’s nail in the hole and squeeze. Then, the blade lowers, slicing off the end of the nail.
How to choose a dog nail clipper?!
Look for a strong enough blade made of stainless steel for a clean cut. Bochel nail clipper cuts through the nail without effort and does not split your dog’s nails. They have an ergonomic handle for a comfortable grip and a safety guard too.
Nail Grinder
Like you can imagine, it grinds down the nails instead of clipping them. It’s an electric rotary tool. The grinding process takes a bit longer than regular clipping (i.e., it takes more patience from both of you!)
A cordless nail grinder, such as Dremel nail grinder, can be a great alternative if your Boston Terrier is uncomfortable with clippers. This one has 2 speeds and allows for a gentle trim with less fuss.
Insider Tip: Whatever tool you use, remember to get your pooch used to it first! Either the sound of the clipper or the vibrating sensation of the grinder!

How Often To Cut Your Dog’s Nails
As a rule of thumb, you should trim your Boston Terrier’s nails as often as it takes to prevent his nails from touching the ground when he’s standing. This could be once a month or every two weeks.
Insider Tip: Dog toenails aren’t supposed to touch the ground unless running up a hill.
The nail tapping on the floor is a good indicator that your pooch is in need of a nail clipping!
The trimming frequency depends on the multiple factors that affect your dog’s nail growth:
- The type of ground surface: The type of surface your pooch spends most of their time on has an impact on his nails. Hard surfaces like asphalt and concrete tend to trim a dog’s nails just by him walking on them.
- Standing time: How much time your Boston’s paw actually spend on the ground matters too. The more he stands, the less trimming you will have to do.
- Your dog’s diet: The balance of certain minerals and vitamins can have an impact on the health and growth rate of your dog’s nails.
- Certain health conditions: Dogs can get nail bed infections, auto-immune disorders, and also tumours that can affect the health and growth rate of their nails.
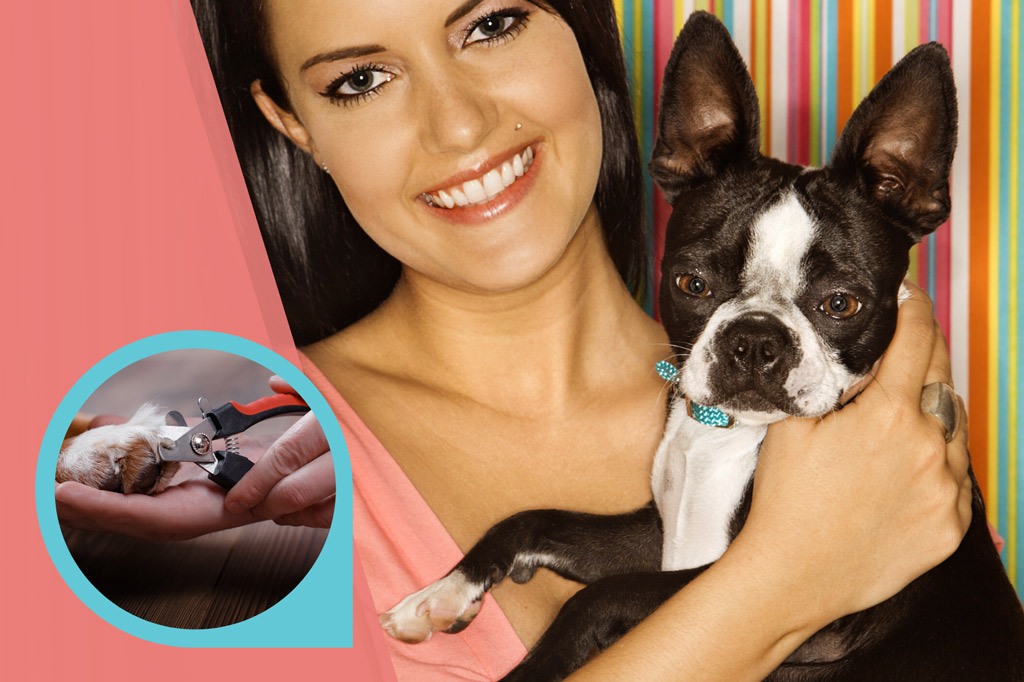
Why You Need to Trim Your Boston Terrier’s Nails
There are many reasons why you need to trim your dog’s nails:
- Long nails can cause your Boston a lot of pain when walking.
- They can make it difficult for your pooch to have a good grip, especially along slick floors like hardwood, linoleum, and tile.
- Long nails are more likely to get hung up on things and get torn off.
- Untrimmed nails can curl and grow into your dog’s skin or paw pads, which can result in injury, infection, and pain. This is true of all nails, but especially the dew claws.
- Finally, there’s the damage that long nails can do to your floors, furniture, and your skin!
P.S. Grooming is an important factor for your Boston Terrier’s overall health! For more BT grooming tips, check out How to Groom a Boston Terrier – Basic Guide blog post.
